Betty, the robot cleaner
Introduction:
In this tutorial you ill learn what is a circuit. An electric circuit is like a pathway made of wires that electrons can flow through. A battery or other power source gives the force (voltage) that makes the electrons move. ... The wires have to go from the power source to the device and back again, so that the electrons can go out and come back.
 |
To build a mini-robot that will help someone clean a tiny area in their home. (maybe you can create a big robot)
Materials:
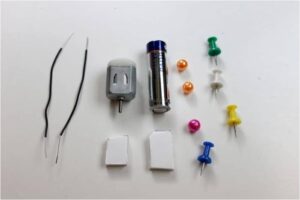
2 x bits of wire,
1 x 3v motor,
1 x AA battery,
3 x beads (a third one too if wanted),
2 x pieces of foamboard (or more if desired),
Some legs,
A Hot Glue Gun.
Method:
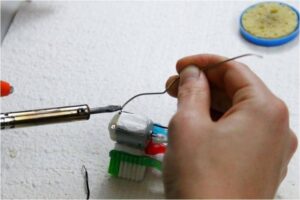
1. Connecting to your Motor: You can either “twist” them on or solder them on. Soldering will probably give your little robot more longevity, but isn’t strictly necessary.
Take your pieces of wire and solder one of each onto a metal contact on the motor. This is quite fiddly so be careful. The best technique is to hold the iron on the metal Contact and bring the solder towards it, letting it melt onto the contact and form a seal. Make sure that you frequently wipe the solder iron with a sponge to get any burnt solder off it. /in my kit, this is done for you).
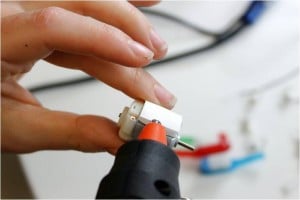
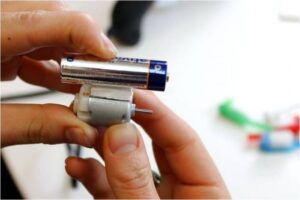
2. Securing the battery to your motor: Glue the bigger piece of foamboard onto the Motor with the metal contacts at the top. Glue the bigger piece of foamboard onto the Motor with the metal contacts at the top.
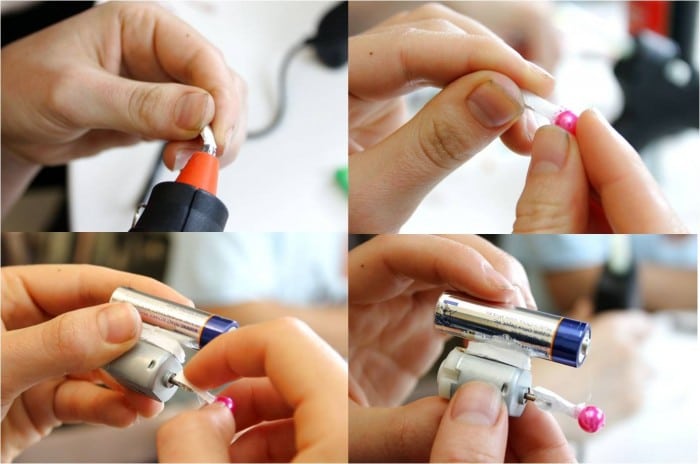
3. Unbalancer: Now this step may seem a little random.. but what you are doing is “unbalancing” the motor, which in turn creates the movement of the little thing. So make sure you don’t skip this bit! Glue a small piece of foam board onto the end of the motor to help unbalance your robot. You can also stick a bead on if you wish. Leave this all to dry for a couple of minutes.
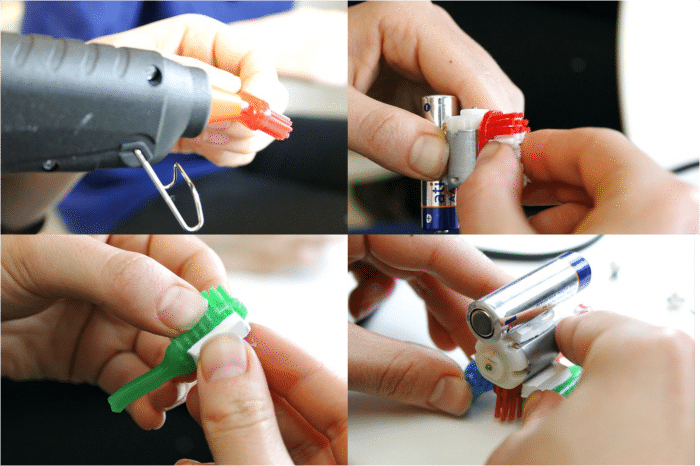
4. Legs: You now need to stick your robots legs onto the bottom of the motor. If using toothbrushes, you might want to stick some foamboard in between. Leave to dry for a couple of minutes.

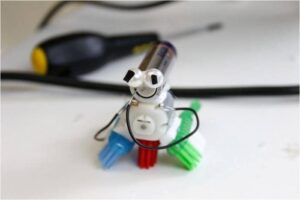
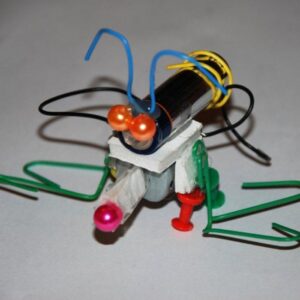
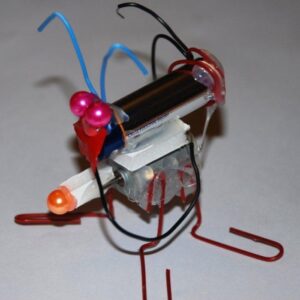
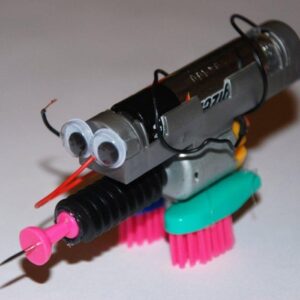
At this point your little robot should look something like this.
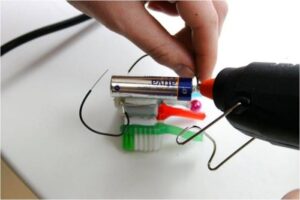
5. Connecting to the Battery: Using your hot glue one of your wires to one end of your battery, your choice which one. It is very important that you create a contact between the wire and the battery – too much glue and you will seal the wire.
6. Eyes: Now stick your robot’s eyes on the appropriate end of the battery. Either end is fine, just choose and end that you like!
7. Final Connection: Now to make your robot move! Take your second wire and stick it to the non wired end of your battery using some tape. By doing this rather than using the glue gun you have flexibility on when the motor is on or off.
Betty's friends:
Be imaginative and create your butler/maid to help clean the house


Comments
Post a Comment